
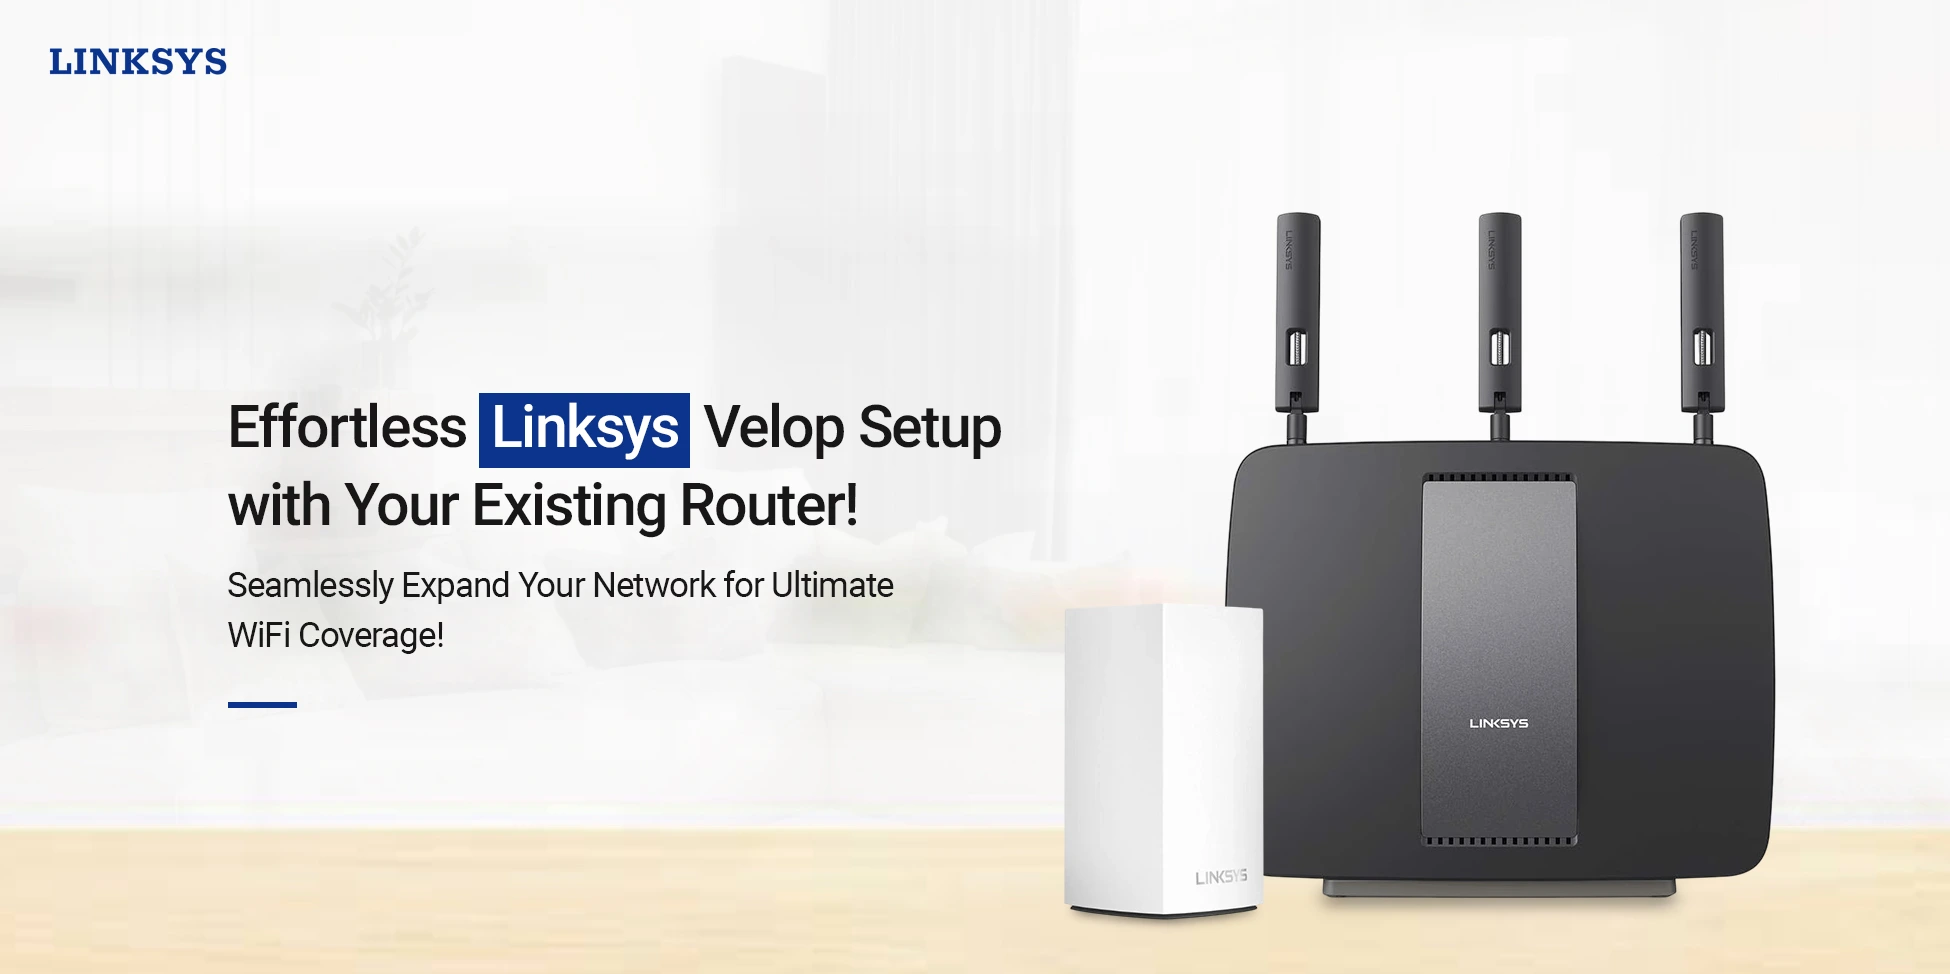
How to Setup Linksys Velop With Existing Router?
Generally, setting up a networking device is quite easy and essential to access its premium features. Likewise, the Linksys Velop whole mesh wifi routers are easy to access via both the app and web interface. However, users are sometimes confused when performing the Linksys Velop Setup With Existing Router. Therefore, this guide simplifies the all-in-one details regarding this configuration process. So, hold your horses here and walk through this post!
A Complete Information to Configure Linksys Velop With Existing Router!
Mainly, you can configure the Linksys Velop with your existing router via the Linksys app and through the web GUI easily. So, if you want to learn how to configure your Linksys networking gateways, then follow the below steps:
Linksys Velop Setup With Existing Router Via App
- To begin with, place the primary Velop node near the existing router.
- Now, connect one end of the ethernet cable with the existing router.

- Then, join the other end of the cable to the Velop’s WAN port.
- After that, link the primary Velop node to the power supply.
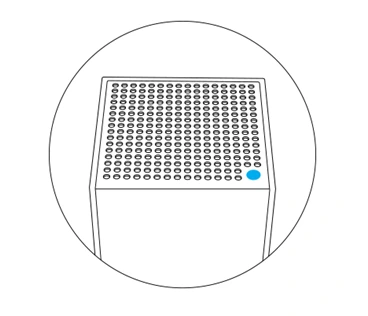
- Wait for the LED indicator to blink blue, indicating readiness for setup.
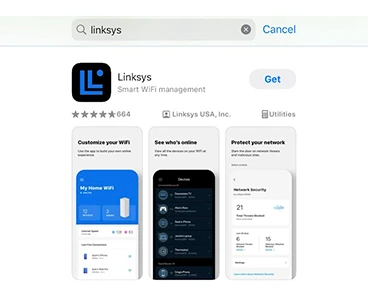
- Now, download the latest version of the Linksys app on your smartphone.
- Then, open the app and log into the Velop dashboard using admin details.
- Hereon, you reach the Velop smart home dashboard.
- Now, select ‘Set Up a New WiFi Network’ and then choose ‘I have a modem or router’.
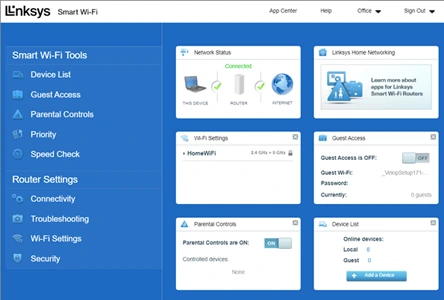
- Then, navigate the dashboard and go to WiFi Settings.
- Hereon, enter a valid WiFi Name and password to connect the Velop node with the existing router.
- If you want to add more Velop nodes, place them within the range of the primary router.
- Follow the in-app instructions to add additional nodes.
- Once the Velop nodes are added to the app, the network is ready.
- Further, run a speed test to check signal strength and coverage.
- Lastly, the Linksys Velop Setup With Router is finished.
Configure Linksys Velop With Existing Router On Browser
- Firstly, power on your wifi router and wait till you see a purplish light on it.
- Then, connect your PC with the default wifi name and password when prompted.
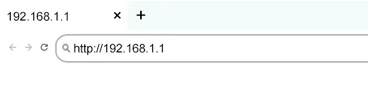
- Now, mention the 192.168.1.1 IP address in the URL bar of your default browser and hit enter.
- After that, access your router using valid administrator credentials.
- Now, you reach the Linksys Velop dashboard.
- Hereon, tap the CA link at the bottom of the page.
- Now, choose Connectivity>CA Router Setup, under Router Settings.

- After that, create a new SSID and password to secure your network.
- Tap on Setup Node and enter a unique wifi name and password.
- Then, hit OK or Apply to save these changes.
- Wait until you see a flashing to turn the solid blue LED on your router.
- Now, wait for your device to connect to the new WiFi name.
- Then, you see a message saying, ‘Your Master Node is now Configured’.
- The router is now ready to use, follow further instructions to set up your device accordingly.
- You can add more nodes, change Basic or Advanced Settings, Internet Settings, and more on the Velop dashboard.
- Finally, the Linksys Velop Setup With Existing Router is completed successfully.
Key Takeaway: If you face any issues with the aforementioned procedure and are unable to perform this setup, then use the 5-button method. For further assistance, reach out to our technical experts!
On the Whole
In a nutshell, this post briefly explains the complete procedure of Linksys Velop Setup With Existing Router easily. However, you have gained deeper insights into the two different ways of this configuration process, simplified through our guide.