
Linksys Velop MX4200 Setup
Undoubtedly, wifi-enabled devices have gained much attention in recent years in the networking world. Various brands in the digital world provide efficient networking devices including wifi routers, mesh systems, range extenders, etc. In a similar vein, Linksys is one such brand, with a wide array of networking devices like Velop mesh systems. However, to make the most of these devices, the Linksys Velop MX4200 setup is a must.
Additionally, if you own a Linksys Velop and are seeking assistance to configure your device, then this guide is for you. Despite this, this master guide helps you to understand the Linksys MX4200 setup procedure in a simplified way. Before that, you must know the essential requirements to carry out this process. So, stay tuned for deeper insights!
Key Requirements For the Linksys Velop MX4200 Setup
Certainly, when the Linksys users proceed with the Linksys Velop MX4200 Mesh setup, they need several things.
So, here are the key essentials for this process:

Linksys Velop
System

internet
connection

web/IP
address

Valid admin
details

Linksys
app

Computer/
smartphone

Ethernet
cables, etc.
How to Perform the Linksys MX4200 Velop Mesh WiFi 6 System Setup?
Mainly, there are two main methods to perform the Linksys Velop MX4200 Setup, i.e., via web browser and using the app. Usually, users prefer to configure their networking devices through the web GUI. But, the smartphone app also lets the users seamlessly configure their device. Here are the complete procedures of both methods:
Linksys Velop MX4200 Mesh Setup Via the Web GUI
- Initially, insert one end of the power cord into your device and the other into the power socket.
- Then, connect the computer to the existing wifi network.
- Now, open a web browser and type the 192.168.1.1 IP address or linksyssmartwifi.com web address.
- After that, log into your Velop account using your existing login details.
- If you don’t have an existing account, then tap on ‘Create a new one’ to sign in.
- Further, you reach the home dashboard of the Velop system.
- From the bottom right-hand side, tap on the CA.
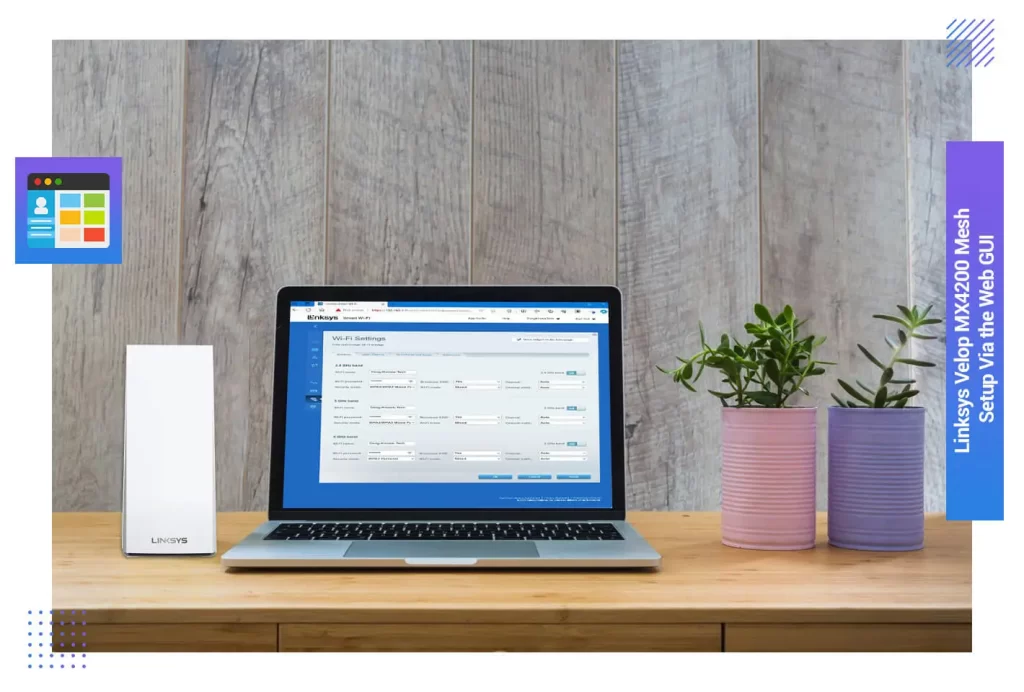
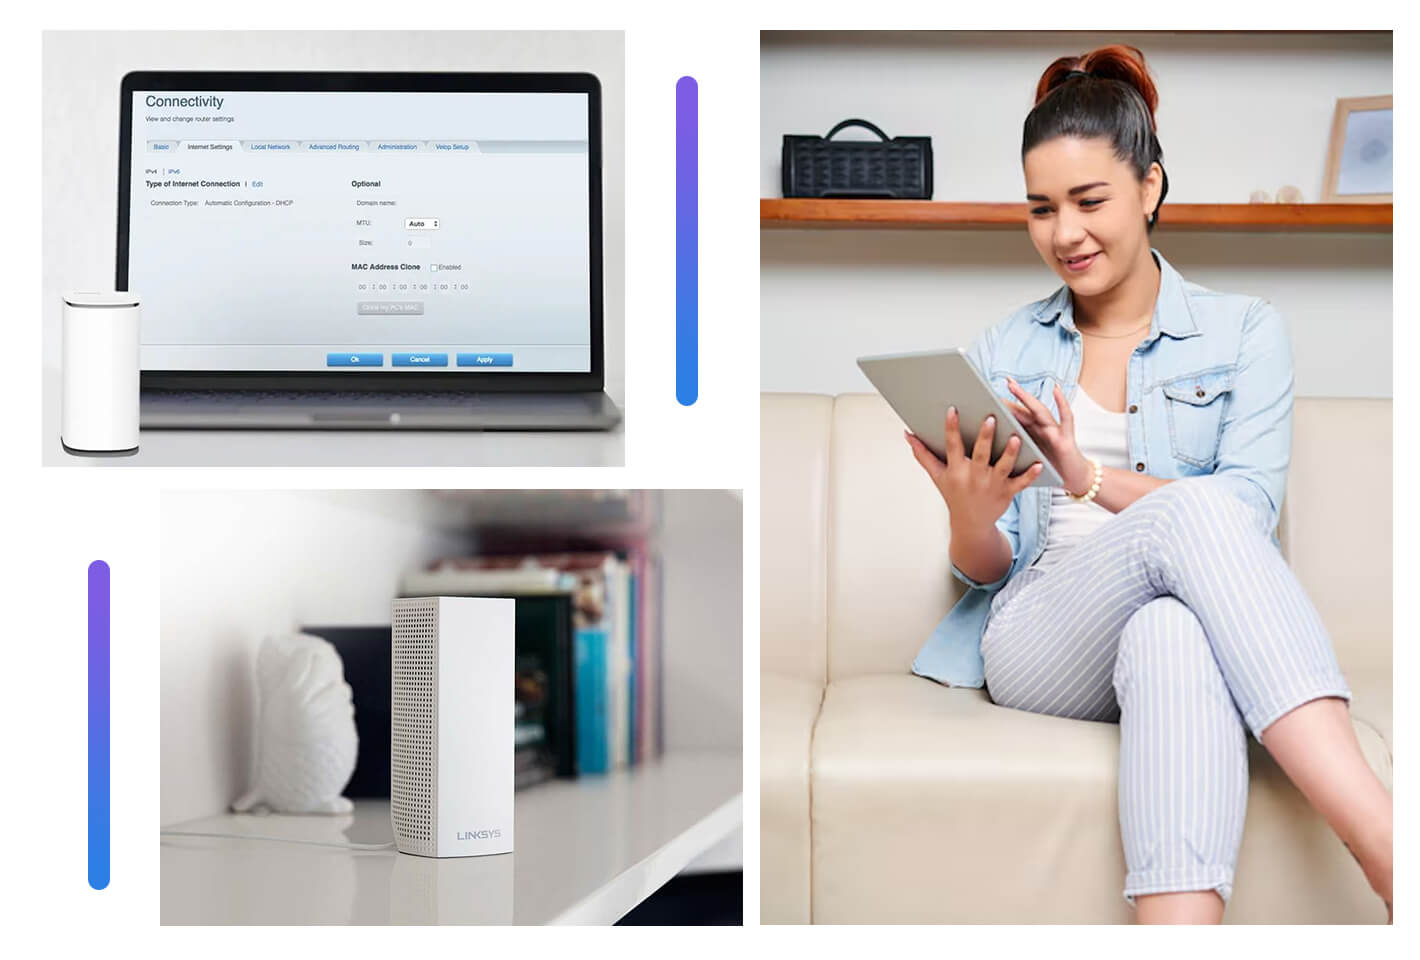
- Next, go to Connectivity and click on the CA Router Setup.
- Hereon, create a new Wi-Fi Name (SSID) and password to secure your network.
- Enter a new SSID and password under the WPA2-PSK security type.
- Then, tap on ‘Setup Node’ and hit the ‘OK’ or ‘Apply’ options.
- Now, you will see a light blinking on the top of your parent node, connect Velop to the new wifi, and continue with the setup.
- After that, you will see a message “Your Master Node is Now Configured” on the screen.
- Then, navigate to Advanced Settings to configure your device accordingly.
- Finally, the Linksys Velop MX4200 setup process ends.
Using the Linksys App For the Linksys MX4200 Setup
- Firstly, make sure you have an updated version of the Linksys app.
- Then, connect your smartphone to the home wifi network.
- Now, open the app and log in using valid admin details.
- If you are using the app for the first time, then create an account first and then log in.
- Now, you enter the home dashboard of the Velop.
- Here, navigate to Devices, and you can view or change the device settings connected to your wifi.
- Next, navigate to the WiFi Settings to change the current SSID and password.
- Further, enter a new wifi name and password to secure your network.
- Hereon, you can also visit the Advanced Settings and connect a device with the WPS.
- After that, go to Advanced Settings to change the security type and WiFi mode.
- Set the security type as WPA2-PSK to secure your wifi network and tap on ‘Save’.
- Then, tap on Guest Access from the dashboard and confirm the settings accordingly.
- Similarly, you can run a speed test, configure Parental Control, etc. settings on the Velop.
- Finally, save all the changes to apply the modified settings.
- Now, the Linksys MX4200 Velop Mesh WiFi 6 system setup is completed.
What Are the Steps For the Linksys Velop MX4200 Firmware Update?
Generally, a firmware upgrade is performed to add new features and functionalities to your networking device. Additionally, it helps in eradicating the temporary issues associated with your device. Therefore, follow the below steps for the Linksys Velop MX4200 firmware update:
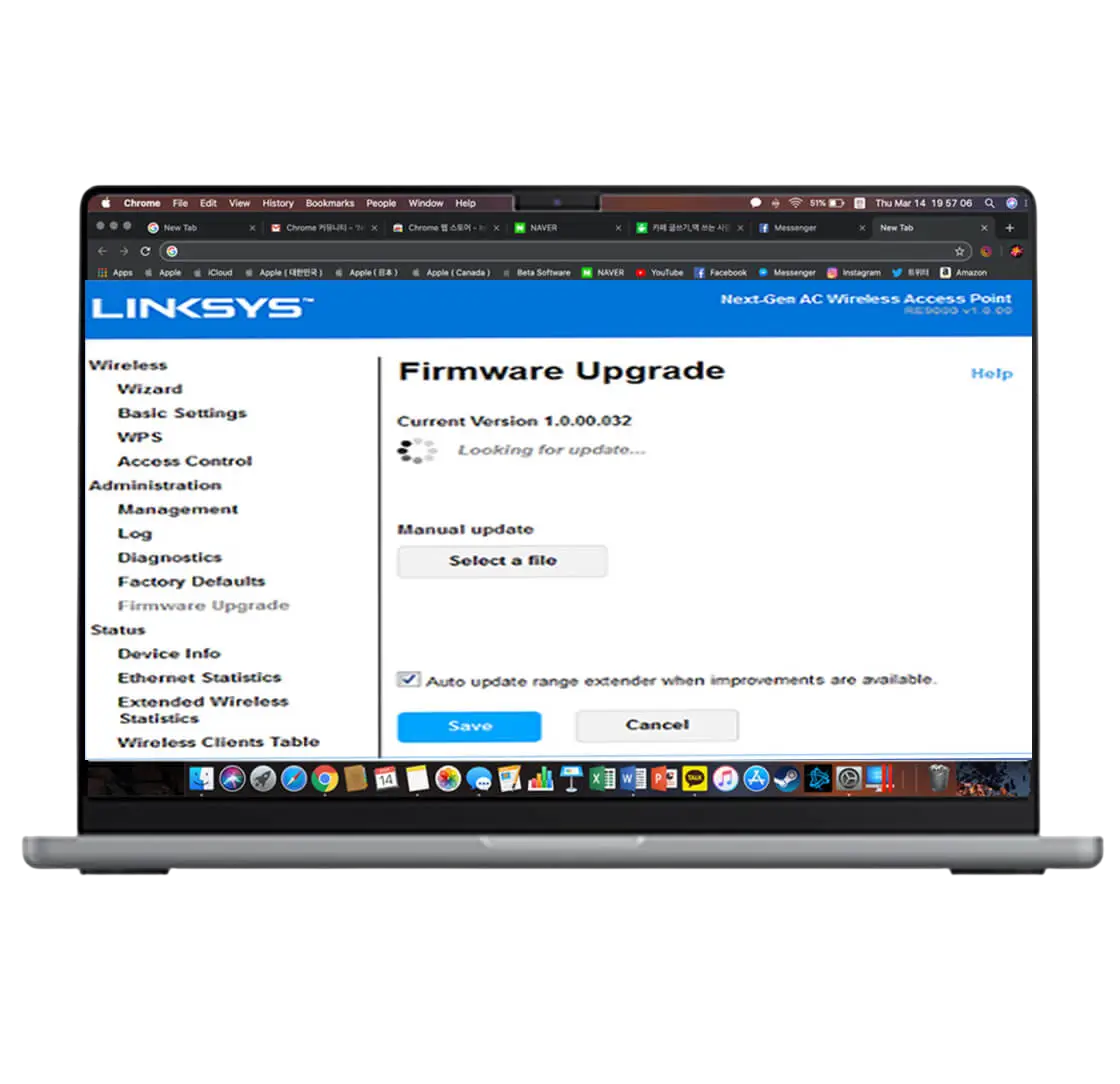
- Firstly, power on your device and connect your computer to the wifi network.
- Now, download a recent version of Linksys Velop MX4200 Firmware and save it on your device.
- Then, access your admin panel using the web interface method.
- From the dashboard, visit the CA>Connectivity under the Router Settings.
- Further, go to the Basic tab and click on the drop-down arrow beside Details.
- Hereon, tap on Choose Files and select a firmware file you saved on your device.
- Tap on the Start button to initiate this process.
- During the update, don’t switch the window or turn off the device.
- Now, tap Yes and let the firmware upgrade finish.
- Then, click OK on the Router Reboot window.
- Finally, tap OK to end this process.
How to Perform the Linksys Velop MX4200 Factory Reset?
Moreover, a factory reset is performed to bring the device to its original settings. However, factory resetting your Linksys Velop MX4200 also helps to fix the temporary issues associated with it. Additionally, if you want a fresh restart of your device, then factory resetting is the most viable option. So, below are the key steps for the same:
- Initially, make sure that your networking device is powered on.
- Then, locate the reset button on the back side of your networking device.
- Now, press and hold this button for a few seconds.
- Wait until the light on the Linksys Velop node turns red and flashes bright red.
- Finally, your device comes back to its default settings.
- Eventually, the Linksys Velop MX4200 factory reset process finishes.

If you need any further help with the Same, visit our Chat Box Now!
FAQs
Can I Create a Cloud Account on the Velop MX4200 Mesh Wifi Router?
Yes, you can easily create a cloud account on the Linksys velop MX 4200 mesh system using the Linksys app. For that, open the app and click on Manage Your Wi-Fi option. Hereon, tap on Create an Account>Add to Account, and enter the same password to Add Account.
What Does the Linksys Velop MX4200 Red Light Indicate?
The indication of solid red light on the Linksys Velop MX4200 indicates that the parent node is not connected to the internet or is unable to detect the internet. On the other hand, a blinking red light on the Velop node represents that the child node is far away from the parent node.
How Can I Recover the Admin Password of My Linksys Velop MX4200 Mesh Wifi Router?
You can easily recover the admin password of the Linksys Velop MX4200 using the 5-digit recovery code imprinted on the device sticker at the bottom.
What Should I Do If the Linksys App Doesn’t Work?
If your Linksys app does not work or stops working, then update it from the App or PlayStore. Then, clear the app cache and temporary files from the device, enable app permissions, or reinstall the app.