Step-by-Step Linksys Atlas Max 6E MX8500 Setup Process
Learn easy steps to configure your Linksys Atlas Max 6E MX8500 router.
Linksys Atlas Pro 6 is the Mesh type Wi-Fi router system that offers massive capacity for video streaming, gaming, and high-speed data downloads, simultaneously. Since the router system is Mesh-type, you can add additional nodes to the system so you can have a flawless WiFi experience around all corners of your home. If you have recently upgraded to a new Linksys Atlas Pro 6 wifi mesh system, learning about the setup process becomes important. This blog will walk you through the information on how to set up Linksys Atlas Pro 6 in easy steps.
Setting Up Linksys Atlas Max 6E MX8500- Things to Know
The Linksys Atlas 6 can be set up easily using your android/iOS smartphone. The Linksys app can help you do that in easy steps. If you wish to have a hassle-free setup experience, you can download the app on your smartphone. All leading app stores have the app listed and you can install the same easily.
If you are looking to use the web-based setup wizard for configuration, you’ll require the default device credentials as well. You’ll need the admin username and password, login web address/IP address details, etc.
Apart from the app, you’ll also need a working internet connection. This will ensure that you can connect your router to it and start working on the network configuration right away.
Setting Up your Linksys Atlas 6 using the Linksys App
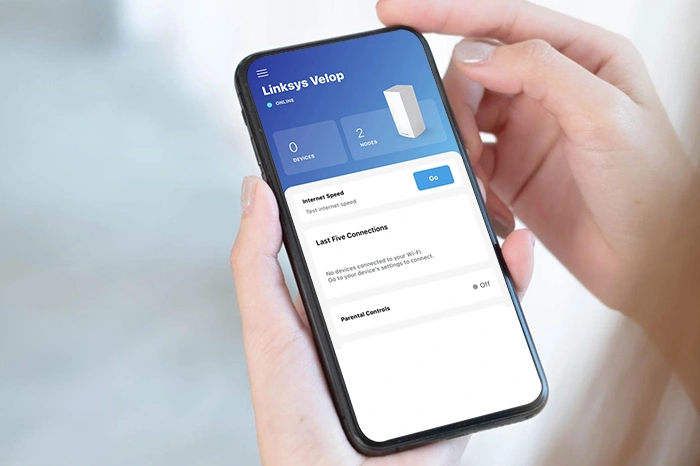
The Linksys App can be downloaded and installed on your smartphone from the App Store or the Play Store. If you already have the app installed, ensure that it is on the latest version. If not, head to the app page on the app/Play store and update the same. Once done, here are some steps you can follow for the Linksys Atlas 6 setup:
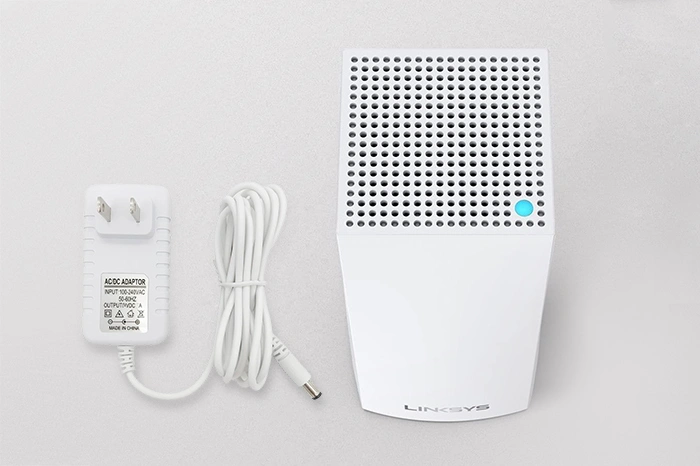
- Connect the parent Node in the LinksysMX8500 setup to the power outlet, and ensure that it is powered on. Be aware when the power light becomes solid.
- Connect your mobile via the device network, and launch your Linksys App with a single click. Click on the "Login" button.
- The login and password field will appear on the screen. Enter your email address and the password to access your Linksys account.
- After you've entered your information, click on the login button and the app will redirect you to the main dashboard.
Steps for Network Configuration
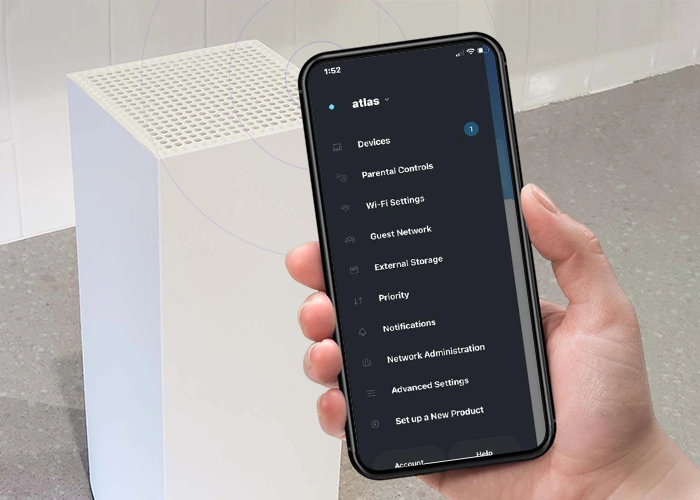
- On the left side of the top, click the "Menu" icon and click on the "Setup a New WiFi Network" option in the menu.
- From the next screen, tap on Velop and Mesh Router and follow the on-screen instructions.
- The app will prompt you to enable Bluetooth, you can simply tap on ‘I would rather set up without Bluetooth’ option.
- If your device has already connected to the MODEM at your end and powered on your parent node, tap on the ‘Next’ button and then tap on ‘It’s Connected’.
- In case you haven’t done so, you can follow the wiring instructions and tap on the ‘Next’ button whenever ready.
- If you have already powered on your child nodes, tap on the ‘Next’ button. If not, you can follow the wiring instructions and then tap on the ‘Next’ button when ready.
- Ensure that the nodes of your Linksys Atlas Max 6E MX8500 setup have a solid light and then tap on ‘Node Light is solid’. Always keep your phone near the nodes while they are being configured.
- The App will now start looking for an internet connection. In case no connection is detected, you’ll see an error screen. From the screen, select the ‘Checking your wiring’ option to inspect the LAN cables. You can select the ‘Restarting your MODEM again’ option to reboot your devices. Alternatively, you can also select the ‘Or, Try again’ option from the bottom.
Configuring the Internet Settings
- If your internet connection is PPPoE connection, you will need to type in the username and password details to connect to the internet connection. You can also choose the Static IP option to proceed with same.
- Once selected, tap on the ‘Enter them Here’ option and then select your internet connection type and type in the settings. After the device is connected, the app will proceed to the next step.
- Customise your WiFi name and the password details. The WiFi password is case-sensitive, so ensure you take care of the case and the sequence of the characters/ numbers that appear.
- From the Privacy Pledge Screen, tap on the ‘Continue’ button when you have read through the points.
- Log in to your existing Linksys Cloud account to access and manage your network remotely. If you haven’t created one, tap on the Create account button and follow the on-screen instructions as they appear to finish creating an account.
- You can also tap on the ‘Skip for Now’ button to create an account later.
- Wait till your network and child nodes are configured. Connect to your new WiFi name whenever prompted and then return to the app. Tap on the Next button to continue with the setup process.
Concluding the Linksys Atlas Max 6E MX8500 setup Process
- After connecting to the new WiFi, the network configuration will resume. Once all the nodes are configured, the screen will show the number of nodes it detects and are configured to the network. Now, tap on the Next button. You can also rename your nodes after completing the setup process.
- Tap on the Next button and then tap on Finish again.
- Based on the model you have, the nodes will have completed setup when the light is either solid white or solid blue.
- Once the WiFi is ready, tap on the ‘Go to Dashboard’. You can now move the child nodes and power them back on. Once turned on, connect your WiFi devices to the network.
The Linksys Atlas 6 router setup process is now complete. You can also update the Linksys MX8500 firmware from the same wizard.
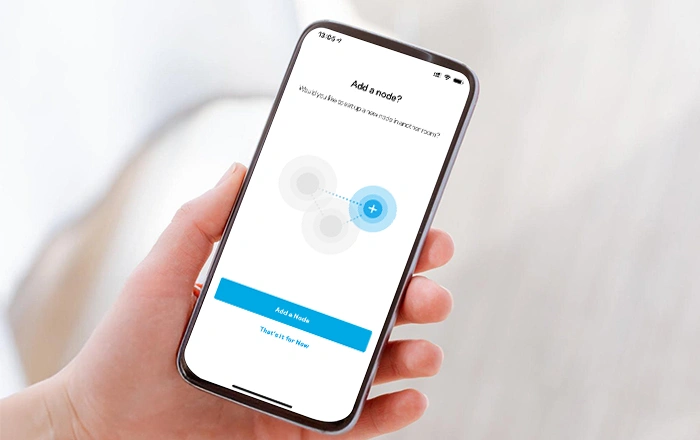
Steps to Add Nodes to Your Linksys Atlas Max 6E MX8500
If you ever need to add additional nodes to your already configured Linksys Atlas Pro 6 system, you can do so easily. You can login to the setup wizard for your Linksys Atlas 6 router and then go to the devices section:
- A new webpage with a range of options will appear. Select the "Add Another Node to Atlas MX8500" option.
- In the screen that follows, choose the reason you want to add an additional node. Choose the appropriate option. Choose the "To extend my Wi-Fi" option by selecting the "To extend my Wi-Fi with a new child node" radio button.
- If you are asked to turn on the Bluetooth and give your permission to the same. Click on the "Next” button once you have read and understood the setup instructions.
- Now, connect your Velop range extender, and hit the "Next" button. This will make the light turns to a solid purple.
- The app will create a new node. This could take a couple of minutes. The status of the new node is displayed on the screen.
- A new screen with brand new options will be displayed. Press "Yes" to activate the "Yes, it is blinking purple" button once you can see the light from the new node turn purple. If you don't see the same color select the "No, it's not blinking purple" button and follow the instructions on the screen.
- Then wait for the Linksys app to connect this node to the Linksys Atlas Max 6E MX8500 router node. The Spotfinder feature within the app can help you determine whether the location is suitable.
- Click"Next," or the "Next" button or simply follow the suggestions that appear on the display.
Configuring the Node Settings
- You can give the newly set up nodes their own names. Select a name among the available options or customize the name to suit your preferences. After that, click on the "Next" button.
- Your wireless network is now added. Click"Next." Click the "Next" button again to continue.
- If you're seeking to add more nodes, click the "Add Another Node" button or, alternatively, click the "That's it for now" button.
- An additional page, with the title "Always Fresh" will appear on the screen. Click on the radio beside the "Automatically report crashes to us" statement. Then click the "Next" link.
The Linksys Atlas Pro 6 setup process is now complete and you can connect your wireless devices to the same.

Need more help with Linksys Atlas Max 6E MX8500 Setup Process?
Connect with the team of experts at our end now!